Tuesday, April 30, 2013

Ants Like Blue Bonnets Too

So Daddy and I took you out for your quintessential bluebonnet pictures. The ants must have gotten the invitation as well. I didn't see them nor their heaping dirt mound of origin, but....I sure felt them BITE me!! Thus, I yelled my default expletive for when unpleasant things occur....then it was your turn. You stumbled over the word mocking me and totally taking advantage of the diversion to give it a try. Baby's first intentional curse word.  Before you could think of self preservation, you took the time to laugh at your mother.....

Find her purple flower here!


I love you, too, sweetheart.


So when everyone else see's this....


.


I'll be thinking of the first time you giggled the word sh*t! I must admit, Daddy and I had to laugh because you sounded just like Gigi and your momma when we say it.


If Fancy Had a Face, No Doubt It'd Be Yours

So I've vacillated about the content of this space and here are my thoughts....all tutorials will no doubt bore me and talking about myself and my thoughts makes me feel weirdly self-centered. However, the one thing I could talk about or more importantly talk TO is....you, my girl. Always know every bit of this is for you.

Thursday, April 11, 2013

A Boutique Bow - The Lucky Little Lolly Way

Let me preface this by saying there are a TON of different ways to make a "boutique" bow, so this is by no means the end all be all - it just happens to work well for MY styling preference.

For a standard 4" bow, start with 28-30in of 1.5" ribbon, cut and heat seal the end with a lighter (trust me, the no-fray stuff won't hold up over time). Oh, and pardon the Ewok photo bomb....hi, Mimi, yes we see you!

Fold the ribbon in half.

Crease the center well.

Now, fold down tails about an inch from the cut end. Crease these well, too.


Match up the center crease fold and the tail fold.

Crease both ends well.

Unfold ribbon and mark your creases for guidelines. You will be lining up your crease marks in sequence as you make your loops.

Make your first loop by lining up your first and second marks.

This will be your top, right loop.

Find your next crease mark and join it over the other marked creases.


Flip the ribbon under to begin the bottom right loop.

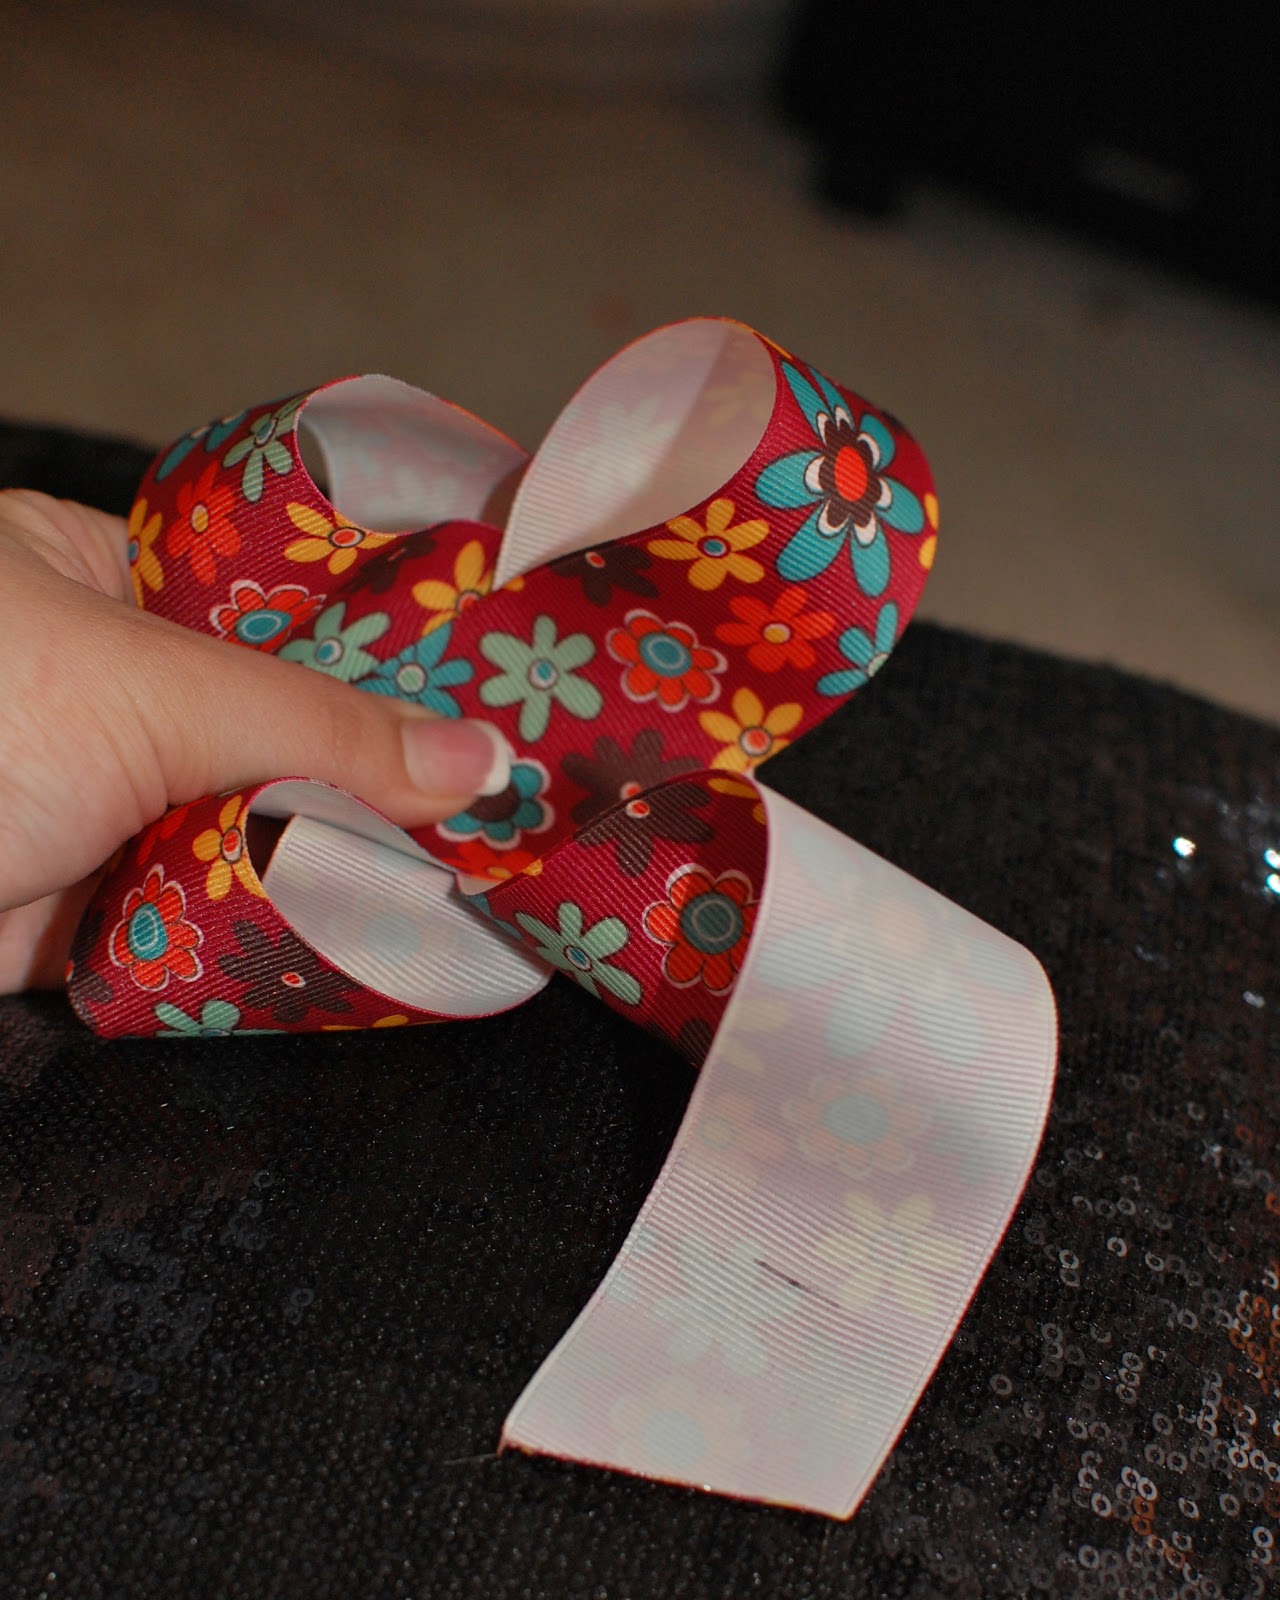
Slide the next marked crease of the ribbon to the center.

For the final loop bring the ribbon around and back up to the center.

Last loop.

Now is the time to even out your loops if they seem out of proportion.

Run a threaded needle through the center.

Give the thread a tight tug, wrap it several times, knot and trim excess thread.


Now you have a basic building block. This technique can be used on most any size or type of ribbon. Crafting a bow like this just takes a little practice, so don't give up if your first one looks less than desirable. Once you figure out how best to hold, twist and turn your ribbons, you'll quickly realize that it's as simple as it seems :)


I anticipate doing more tutorials if the interest is there, so if you found this of use and would want to learn more, I need to know!!  Remember, you can see how these bows in action by visiting us at www.facebook.com/luckylittlelolly or following us on Etsy www.etsy.com/shop/luckylittlelolly.

Hope you learned something new here today!!


Tuesday, April 9, 2013

Give a Little Bit


First things first, welcome to our little place in the vast world of the girlie girl! Lucky Little Lolly is our means of making fancy fun and functional for every girl. As you'll see we love color and texture, sparkle and shine, but what we love more, is sharing the FEELING of fancy. When I hear my girl say "Woo woo, I'm fancy!" I'm hearing her say she feels confident about herself....if I could bottle that feeling I would!! That said, we hope you find something here that helps YOU, or any girl you love, find your own brand of fancy ;)


Visit us at on Facebook:
www.facebook.com/luckylittlelolly